The Road to Adventure: Fitting Your 80 Series MOLLE Shelf Like a Pro
Your 80-Series LandCruiser is more than just a vehicle; it’s the key to unforgettable adventures. Organization is key, whether you’re gearing up for a camping trip, beach getaway, or off-road exploration.
That’s where the 80 Series M.O.L.L.E Shelf comes in. Your secret weapon for maximizing storage and conquering clutter.
But before you hit the road, let’s dive into the fitting instructions and ensure you’re ready to embark on your next adventure.
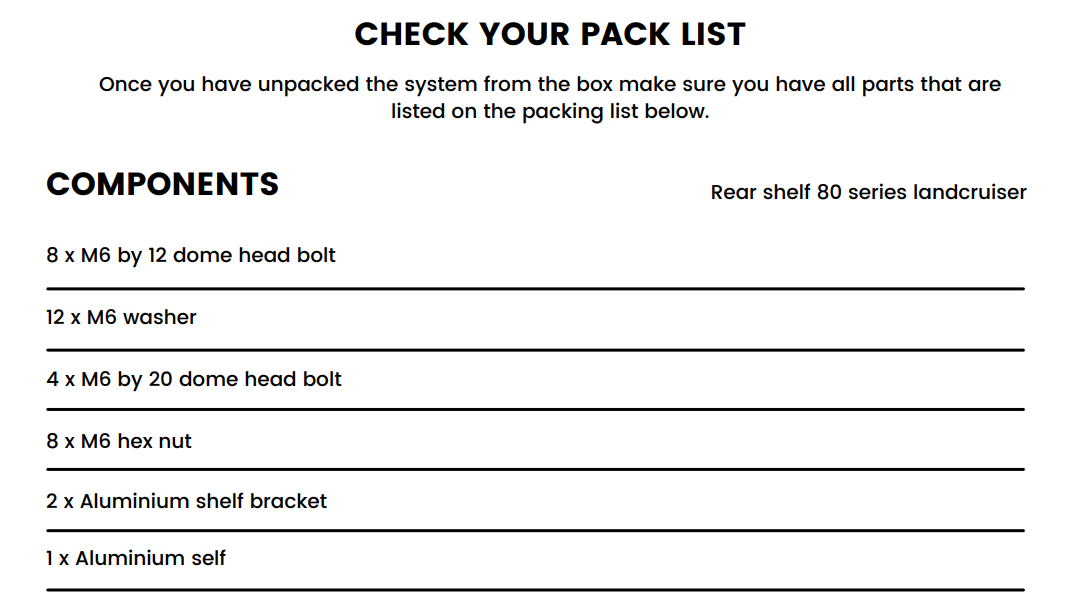
Step 1: Pre-Adventure Checklist
Every successful journey starts with preparation. Double-check that you have all the correct components and tools required for the installation. It’s all about making the process smooth and hassle-free.
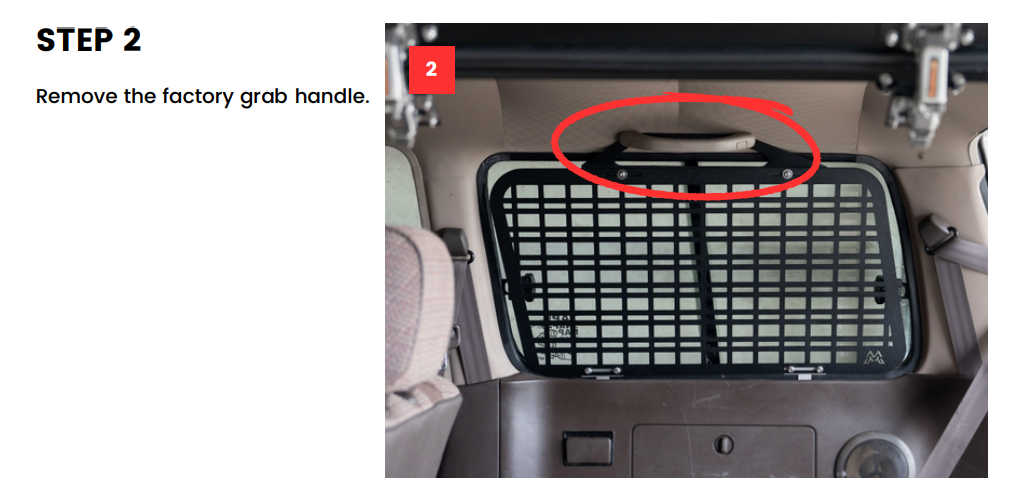
Step 2: Out with the Old
Remove the factory grab handle to make room for your new storage powerhouse. It’s a simple step but a crucial one. This shelf is about transformation, and that starts with a clean slate.
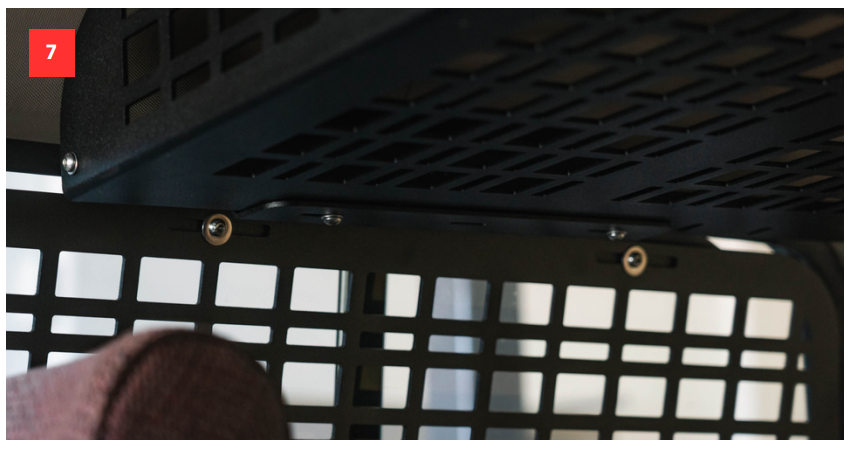
Identify the left and right-hand side brackets and fit them loosely to the factory bolt holes you found when removing the original grab handles. Supplied in your Rogue MOLLE kit are 4 X 6mm Stainless steel bolts, roughly 20mm deep.
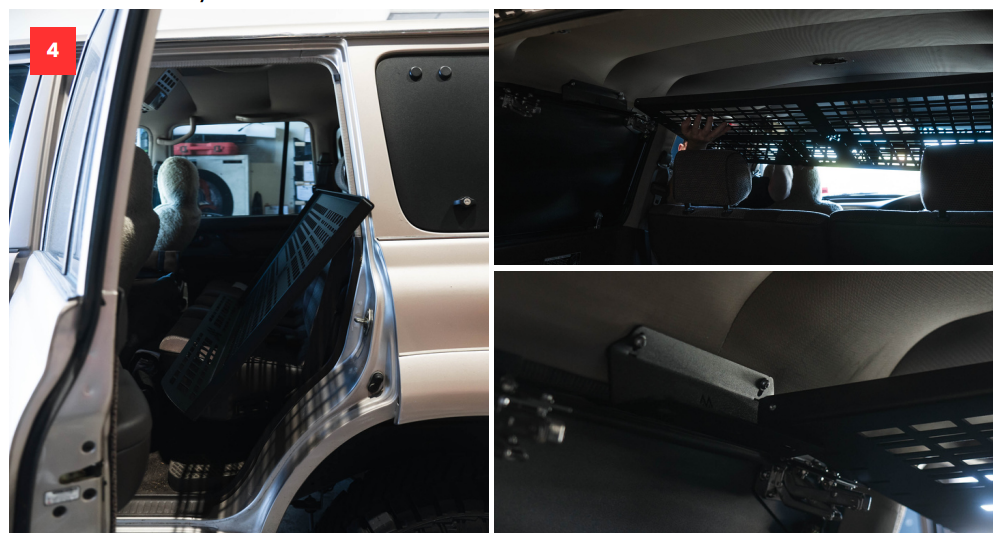
Step 3: The Perfect Fit
Now comes the exciting part: fitting the shelf onto the brackets from the rear passenger seat. Don’t be alarmed if the aluminium has a slight warp to it; that’s completely normal. As you firmly bolt it in place, the shelf will settle into its ideal shape. It’s like your LandCruiser is welcoming a new addition to the family. ????

Step 4: Bolting It Together
With the shelf securely in place, it’s time to bring it all together. Begin by loosely fitting the corners of the shelf with the provided M6 by 12 bolts, complete with washers and M6 hex nuts. Think of it as the first stitch in your adventure’s tapestry.
Step 5: Completing the Puzzle
Completing the fitting puzzle is as exciting as finishing a challenging trail. Continue by loosely installing the remaining M6 by 12 bolts with their respective washers and M6 hex nuts. Each bolt is like a piece of the adventure puzzle, and when they all come together, you’re ready for anything.
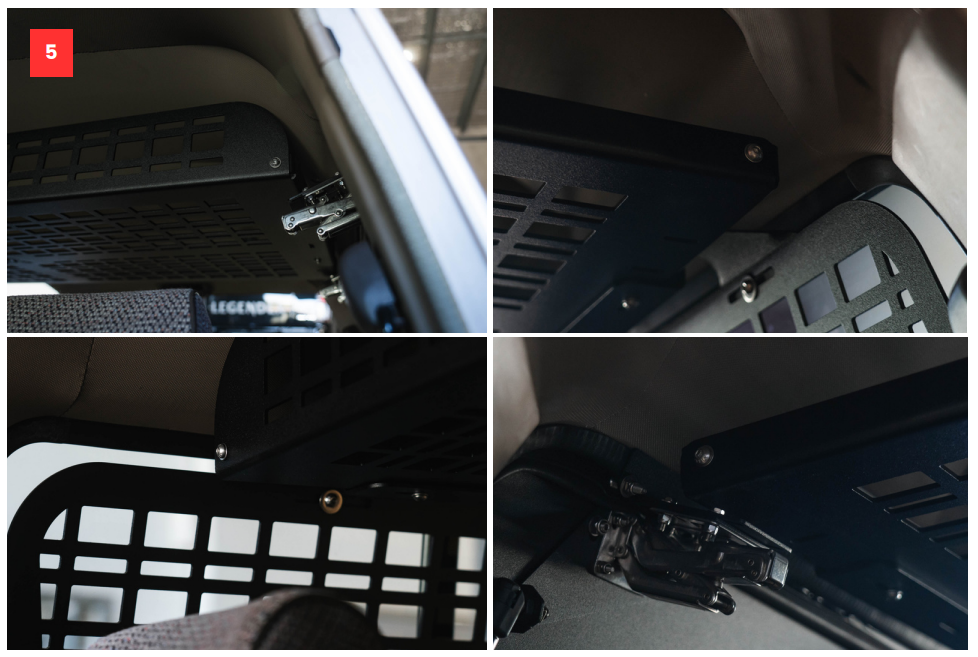
Step 6: Tighten and Triumph
Now that everything is in place, take a moment to ensure the shelf is in the correct position. Tighten all the bolts, but here’s a pro tip – save those corner bolts for last. It’s like putting the final brushstrokes on a masterpiece. The result? A secure, organized, and adventure-ready LandCruiser.
With the 80 Series MOLLE Shelf installed, your LandCruiser transforms into a storage powerhouse, ready to conquer any adventure that comes your way. Whether you’re hitting the open road, tackling off-road trails, or simply enjoying a family camping trip, your LandCruiser now has the storage and organization you need.
Get ready to elevate your adventures, stay organized, and create unforgettable memories with your 80 Series LandCruiser and the MOLLE Shelf. Your journey begins here.