


")
")
")
")
")
")
")
")


")
")
")
")
")
")
")
")

 or 4 payments of
 Unlock the Full Potential of Your Suzuki Jimny with Our Battery Cradle Kit.
The Ultimate Battery Upgrade for Suzuki Jimny Owners!
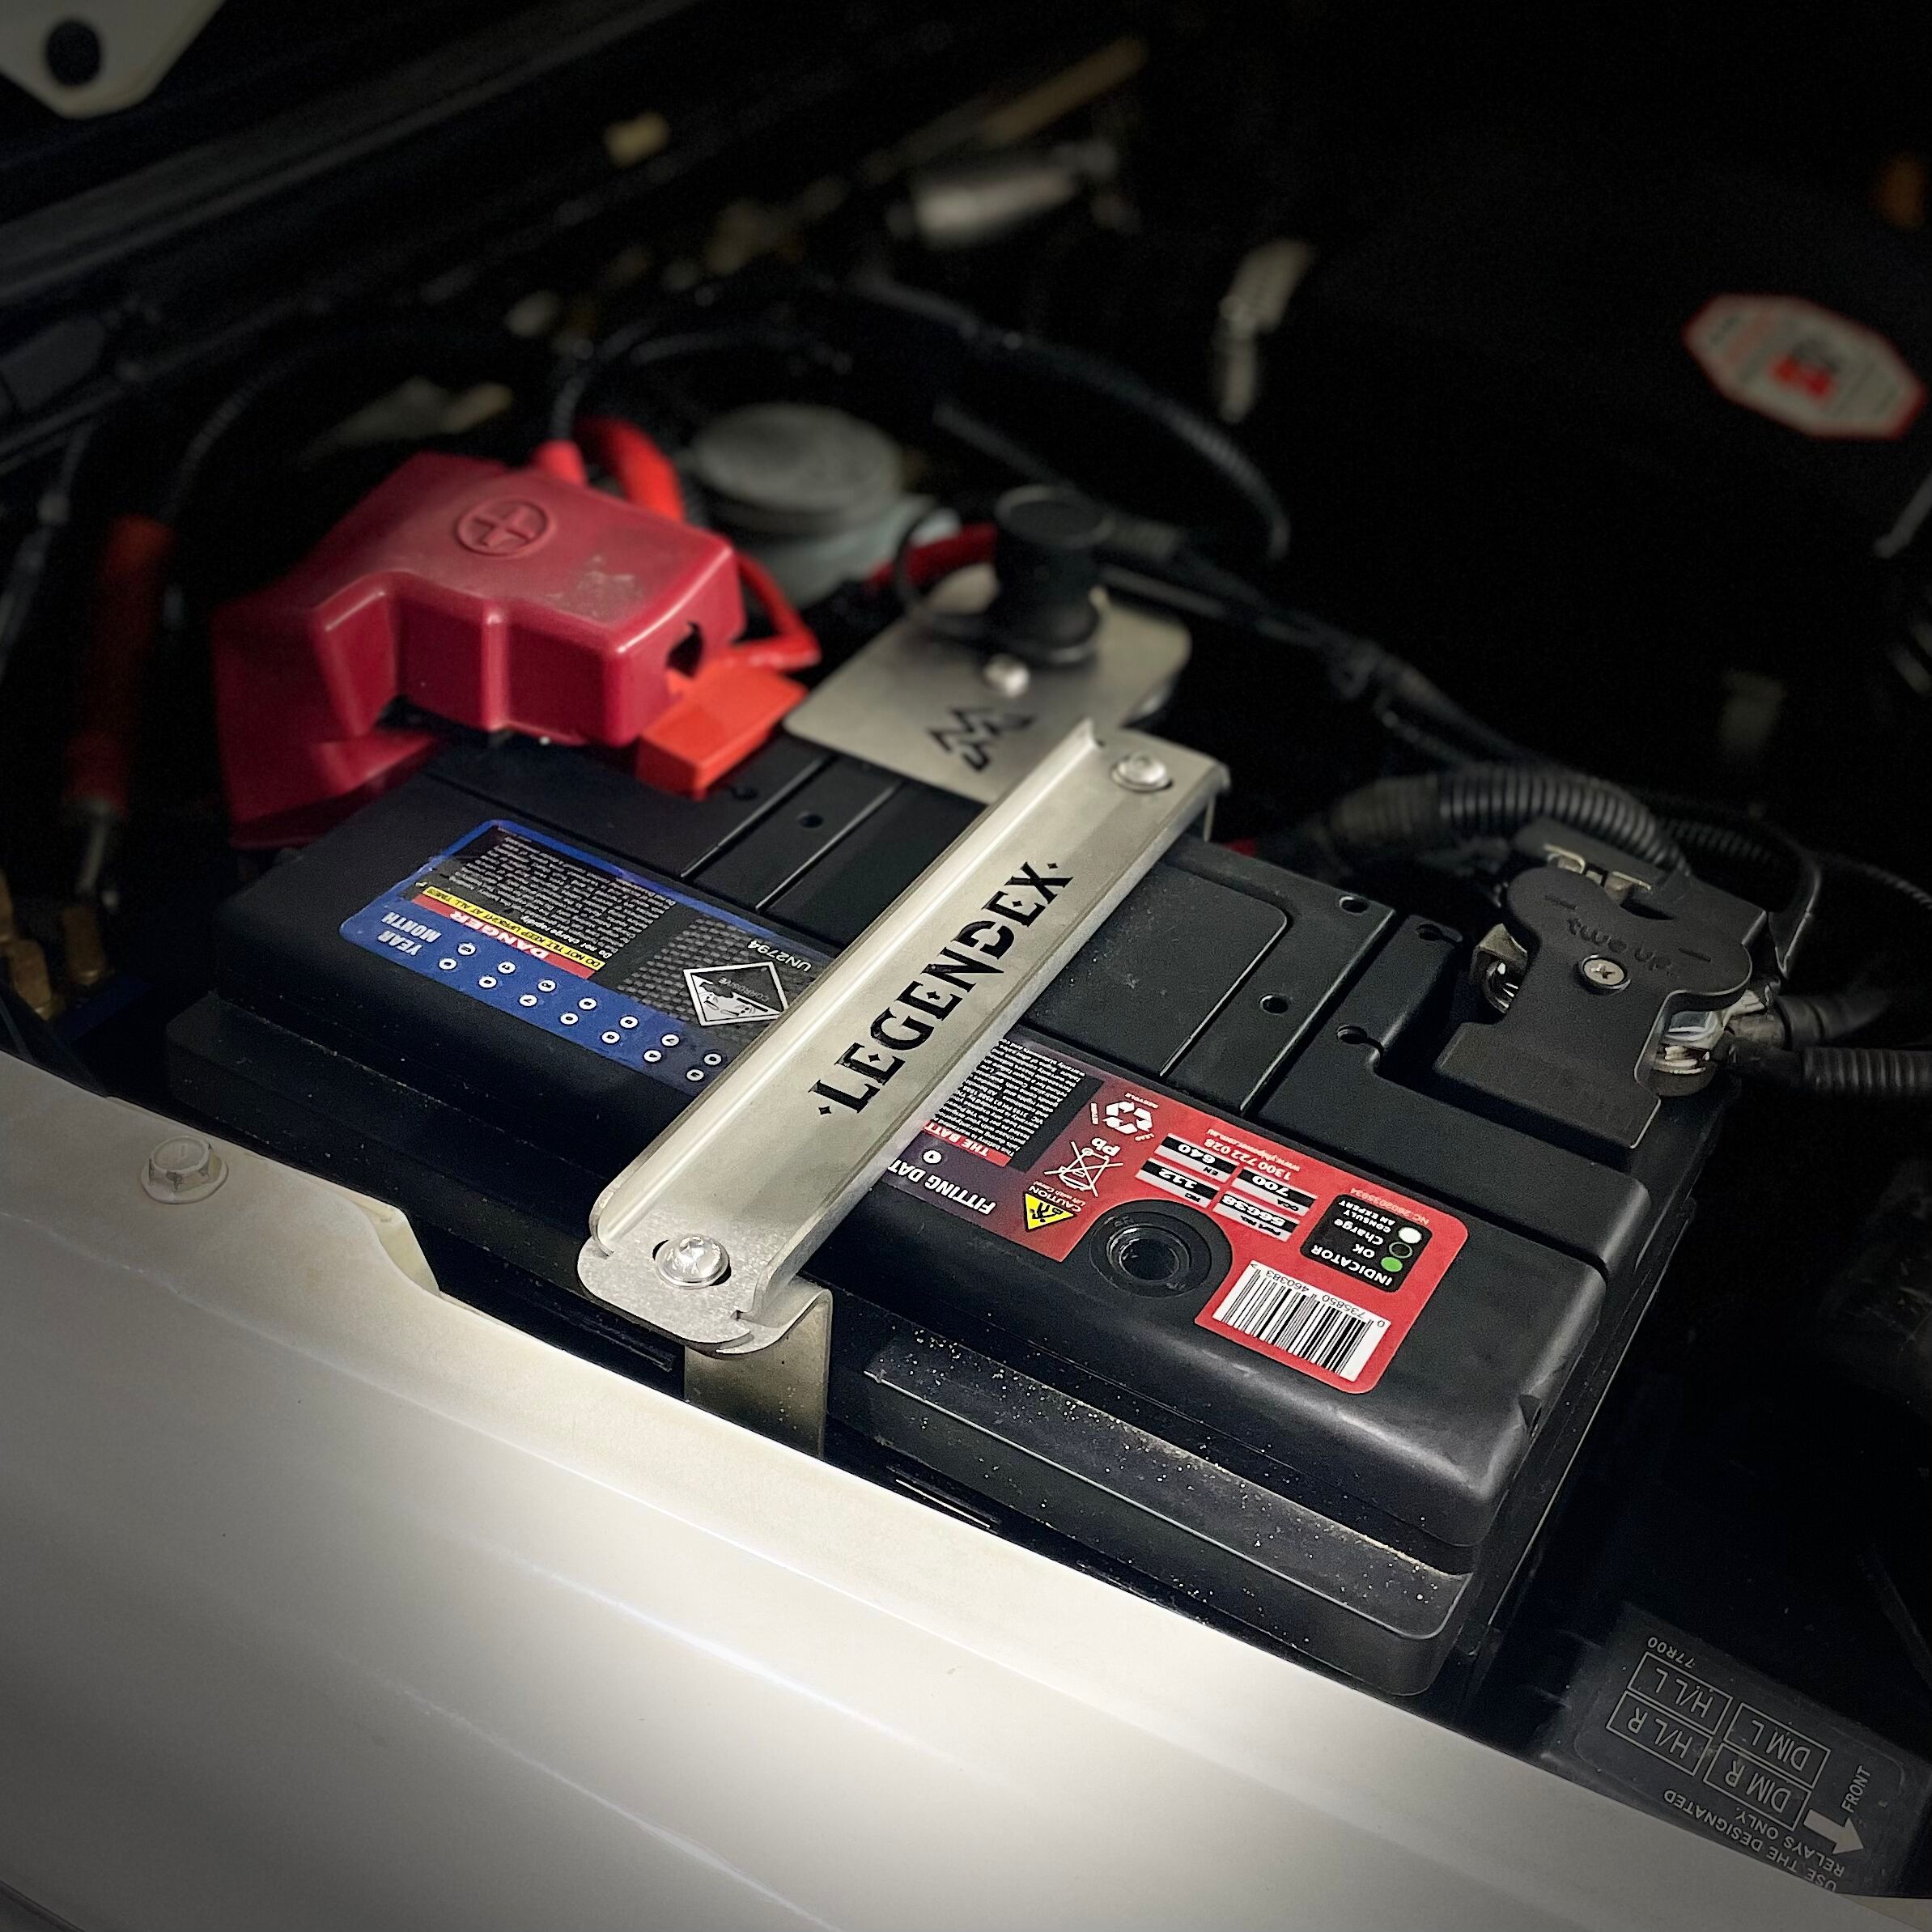
Introducing our high-performance battery cradle kit. For Suzuki Jimny, specially designed for JB74 owners who demand superior electrical power and reliability on their off-road adventures. This comprehensive stainless steel cradle kit is meticulously engineered to cater specifically to the needs of your Suzuki Jimny.
Key Features:
- Optimal Power for Your Jimny: Our 800 CCA Battery Cradle is the perfect solution for maximizing the electrical power of your Suzuki Jimny. This carefully designed kit ensures a seamless fit and enables you to upgrade your battery system to deliver unmatched performance in demanding off-road conditions.
- Effortless Installation: Yes, Installation is a breeze. Designed specifically for the Suzuki Jimny, it fits perfectly without any modifications to your vehicle. Our kit utilizes all the factory mounting points, making installation hassle-free.
- Unleash Winching Power: The Battery Kit for Suzuki Jimny enables you to harness the full potential of your winch. With its robust design and enhanced power delivery, this kit ensures optimal winching performance when needed.
- Enhanced Safety Features: Safety is our top priority. The Battery Cradle Kit has a built-in winch isolator panel, offering convenient control over your winch’s power supply. This added safety feature provides peace of mind during recoveries and maintenance operations.
- Quality Craftsmanship: Our Battery Cradle Kit is meticulously crafted using top-quality materials, ensuring durability and longevity. Designed and made in Australia, it upholds the highest manufacturing standards, guaranteeing a reliable and robust solution for your Suzuki Jimny.
More Capacity is more peace of mind when recovering your Jimny
Unlock the full potential of your Suzuki Jimny with our 800 CCA Battery DIY Kit, specifically tailored for your off-road adventures. Upgrade your battery system today and experience the power and reliability you need for your next off-road excursion.
One of the standout features of our Battery Cradle Kit for Suzuki Jimny is its easy do-it-yourself (DIY) installation. Designed with convenience in mind, this kit can be fitted by an average 4WD owner with a low to moderate experience in fitting accessories. The kit utilizes all the factory mounting points, eliminating the need to modify the original vehicle. Made from durable 2mm stainless steel, laser cut and folded to precise specifications, the cradle seamlessly integrates into the JB74 Jimny’s existing framework. With straightforward installation instructions and an estimated fitting time of around one hour, you can have your new battery cradle securely in place and ready to unleash the power for your off-road adventures.
“Upgrade your Suzuki Jimny’s battery system today and unlock its full off-road potential. Order our Battery Cradle Kit now and experience the power, reliability, and peace of mind you need for your next adventure!”
Follow us on Instagram @getgoodgear


")


Reviews
There are no reviews yet.